Undercarriage Cleaning Made Easy: Method for Every Car Owner
When it comes to keeping your car clean, most drivers focus on what they can see, the shiny paint, spotless glass, and neat interior. But there’s one area that often goes unnoticed and uncleaned, the car’s undercarriage.
Hidden beneath your vehicle, the undercarriage is the foundation that holds everything together. It faces the toughest conditions, dirt, sand, road salt, mud, and oil all collect there over time. In a country like the UAE, where dusty roads, humidity, and occasional rain can quickly cause corrosion, ignoring the undercarriage can shorten your car’s lifespan and hurt its resale value.
So, if you’ve never cleaned this part before, it’s time to change that. Here’s a simple, step-by-step guide on how to clean your car’s undercarriage safely and effectively.
Why the Undercarriage Matters More Than You Think
The undercarriage includes all the essential parts that sit underneath your car, the frame, exhaust, suspension, fuel lines, and brake components. These parts are constantly exposed to harsh conditions.
When dirt, grime, and salt stay on the metal for too long, they start eating away at it. This corrosion weakens the frame, damages moving parts, and can even affect the braking system. Over time, small issues turn into costly repairs.
Regular cleaning prevents this buildup. It keeps your car performing smoothly, prevents rust, and makes inspections easier. For those who plan to sell their vehicle later, a clean undercarriage shows good maintenance, something every buyer appreciates.
How Often Should You Clean It?
The frequency of cleaning depends on how and where you drive. In the UAE, most roads are dry, but sand and salt can still accumulate quickly.
Here’s a simple rule:
- Every 2–3 months for city driving.
- Once a month if you drive off-road or near beaches.
- After rain or sandstorms, always give it an extra rinse.
If you hear unusual noises underneath, notice rusty spots, or feel the car handling differently, those are signs it’s time for a thorough undercarriage wash.
What You’ll Need Before Starting
You don’t need professional equipment to do this right. A few household tools will do the job.
Here’s your checklist:
- Car jack or ramps (for clearance)
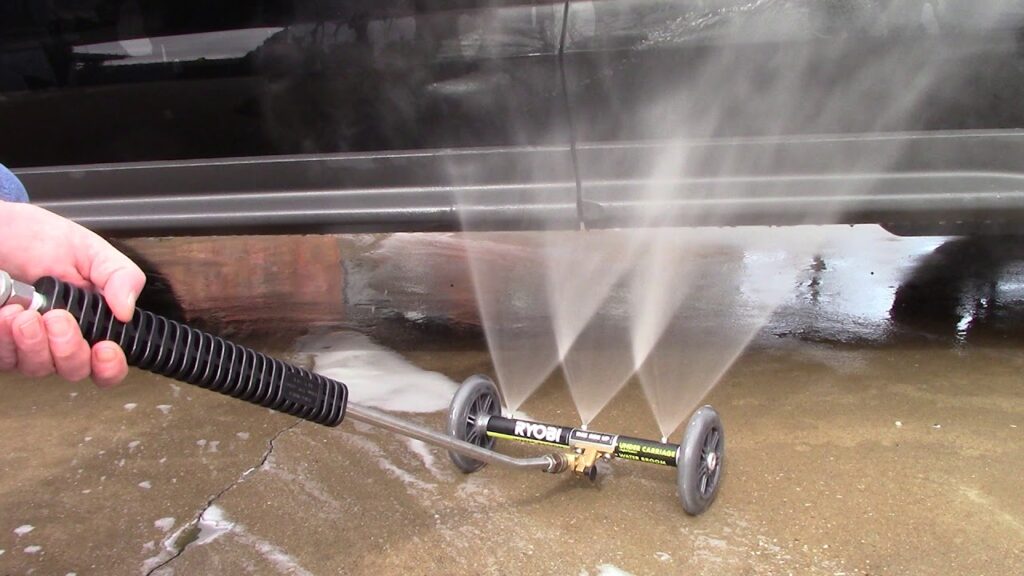
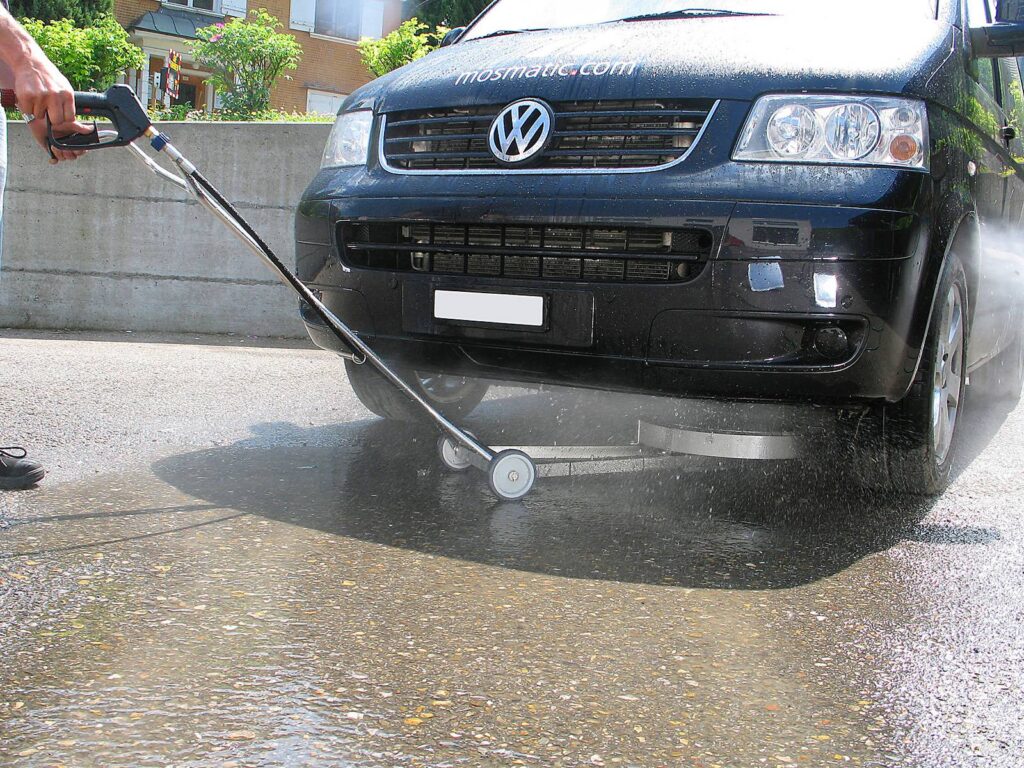
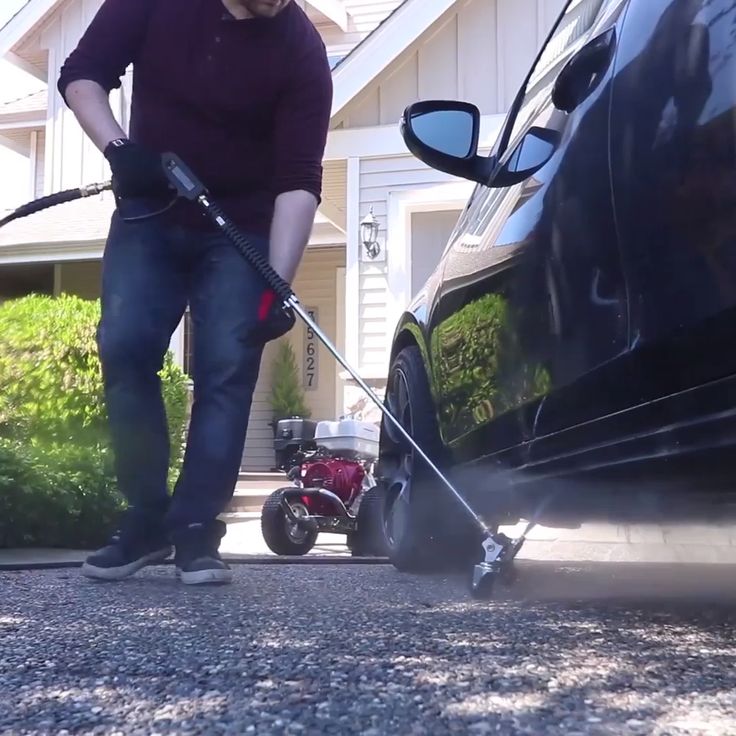
- Pressure washer or a strong garden hose
- Degreaser or all-purpose car cleaner
- Soft brushes and microfiber cloths
- Safety gloves and goggles
- Rust protection spray (optional)
Avoid using harsh detergents or acidic cleaners, they can damage paint, rubber seals, or electrical connections.
Step-by-Step Method for Cleaning Your Car’s Undercarriage
Here are the steps you should follow.
Step 1: Park Safely and Lift the Car
Find a flat, open area with good drainage. Turn off the engine, engage the parking brake, and let the car cool if it’s been running.
Use ramps or a car jack to raise the vehicle slightly, just enough to access the bottom comfortably. Always double-check stability before you start.
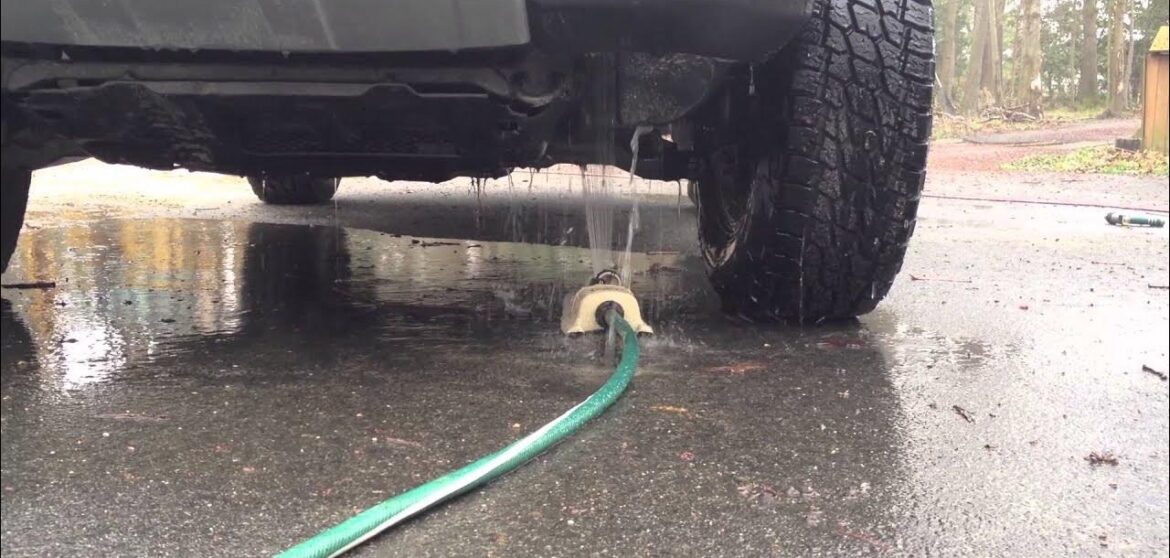
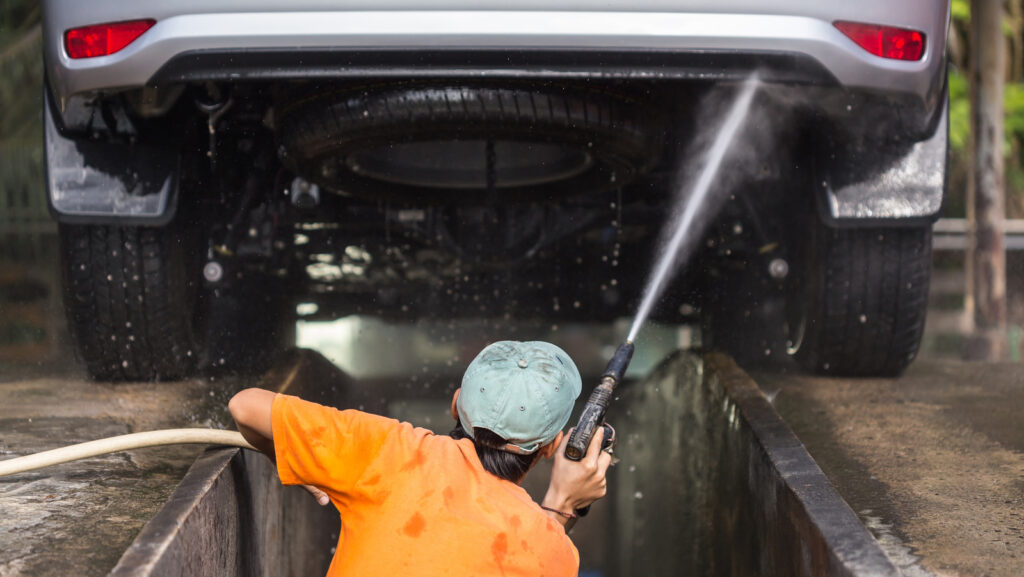
Step 2: Rinse Thoroughly
Begin by rinsing the undercarriage with a pressure washer or hose. The goal here is to knock off loose dirt, sand, and mud.
Start from the front and move backward, covering the frame, wheel wells, suspension, and exhaust. Take your time, dirt can cling tightly in hidden corners.
Step 3: Apply Cleaner or Degreaser
Once the surface dirt is gone, apply your cleaner evenly. A degreaser helps break down oil, grease, and road grime that regular soap can’t handle.
Let it sit for about 5–10 minutes to loosen up tough spots. Avoid letting it dry completely before rinsing, that can leave residue.
Step 4: Scrub Gently
Using a soft brush or cloth, gently scrub the problem areas.
Focus on spots with visible grime, rust stains, or sticky buildup. Don’t use metal brushes, they can scratch the metal and remove protective coatings.
Pay attention to the suspension parts and wheel wells, as they trap the most dirt.
Step 5: Rinse Again
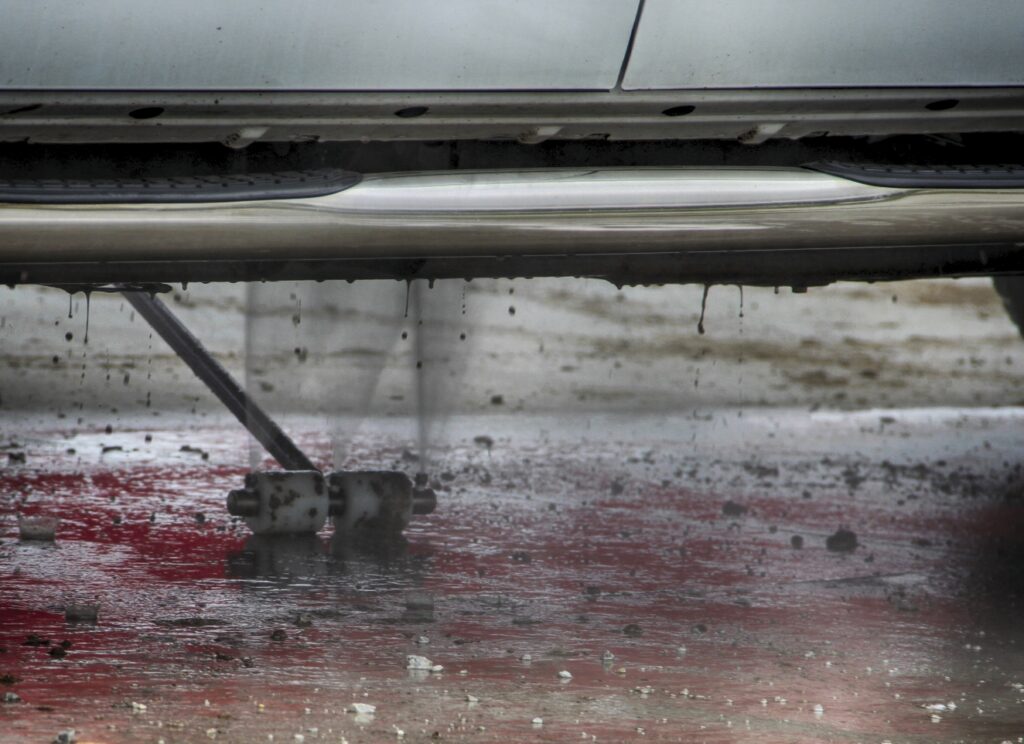
Once you’ve scrubbed everything, rinse thoroughly again.
Ensure no soap or cleaner is left behind, as chemical residue can damage the paint and rubber over time. A good rinse leaves the metal clean and fresh.
Step 6: Dry Completely
Drying is one of the most important steps. Leaving moisture trapped under the car can lead to corrosion, especially in humid environments.
Use a blower, compressed air, or microfiber towels to remove all water. Don’t forget hidden areas like inside the wheel wells and around the exhaust.
Step 7: Apply Protective Coating
Once dry, you can spray a rust inhibitor or protective coating.
This creates a barrier against moisture, salt, and debris, perfect for cars that see a lot of road exposure or off-road use.
While optional, it adds months of protection and keeps the undercarriage looking clean longer.
Mistakes to Avoid
Even a simple process can go wrong if done carelessly. Here are a few mistakes to avoid:
- Using harsh chemicals: They can corrode or dull protective paint.
- Spraying directly on electrical components: Be gentle around sensors and wiring.
- Washing while the car is hot: Cold water on hot metal can warp parts.
- Skipping drying: Moisture left behind encourages rust.
Remember, gentle, consistent cleaning is better than aggressive, one-time washing.
Professional vs. DIY Cleaning: Which Is Better?
If you’re short on time or prefer precision, professional undercarriage cleaning is a good option. Many UAE car wash centers now offer steam-based undercarriage cleaning, which removes dirt while being gentle on components.
Professionals can also inspect for rust or leaks during cleaning. However, regular DIY washes are still important between professional visits.
DIY cleaning pros:
- Cost-effective
- Convenient
- Helps you spot small issues early
Professional cleaning pros:
- Deep cleaning
- Rust and leak inspection
- Time-saving
Ideally, alternate between both methods for the best results.
Long-Term Maintenance Tips
Here is what you need to know.
- Inspect regularly: Look for leaks, rust patches, or loose parts every few months.
- Wash after driving in rough or wet areas: Especially after heavy rain, sandstorms, or beach trips.
- Avoid parking on wet sand or grass: These hold moisture that can corrode metal.
- Keep the rest of the car clean: Mud from tires often ends up on the undercarriage.
By building these habits, you’ll extend your car’s life and avoid costly repairs later.
Why Undercarriage Cleaning Is Especially Important in the UAE
Driving in the UAE comes with unique conditions. Sand and dust can act like fine sandpaper, wearing down protective coatings. Coastal areas expose vehicles to salt-laden air, which speeds up rusting.
Regular undercarriage cleaning helps fight these elements. It keeps your car running smoothly in extreme weather and protects your investment. Whether you drive a luxury sedan, SUV, or pickup, the same rule applies, the cleaner the base, the stronger the car.
Conclusion
Your car’s undercarriage is the unsung hero that carries the entire weight of your vehicle, literally. Taking care of it means taking care of your car’s overall health.
Regular cleaning doesn’t just make your car look better; it helps it drive better, last longer, and retain its value. Whether you choose to do it yourself or get it professionally done, the key is consistency.
Next time you wash your car, don’t stop at the surface, look underneath. A few extra minutes of cleaning can save you thousands in repairs later.